I decided to make card sets consisting of 3-5 cards as gifts for a few of my friends for this Christmas. As we are now officially in autumn it is high time I get started or they wont all be finished in time.
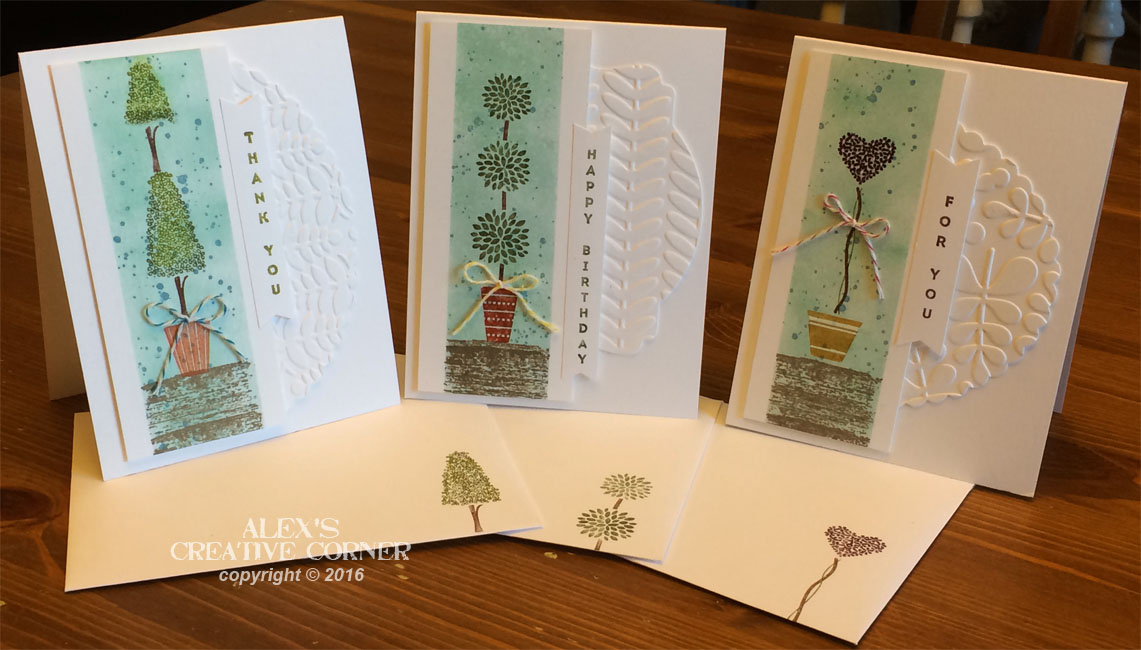
This is the first card trio I made. It uses the SU Vertical Greetings stamps that so far I have pretty much ignored. I'll be really honest, my main reason for purchasing this set was the greetings, not the topiary planters. However, now that I've had the chance to play with them I quite like them and plan on using them again.
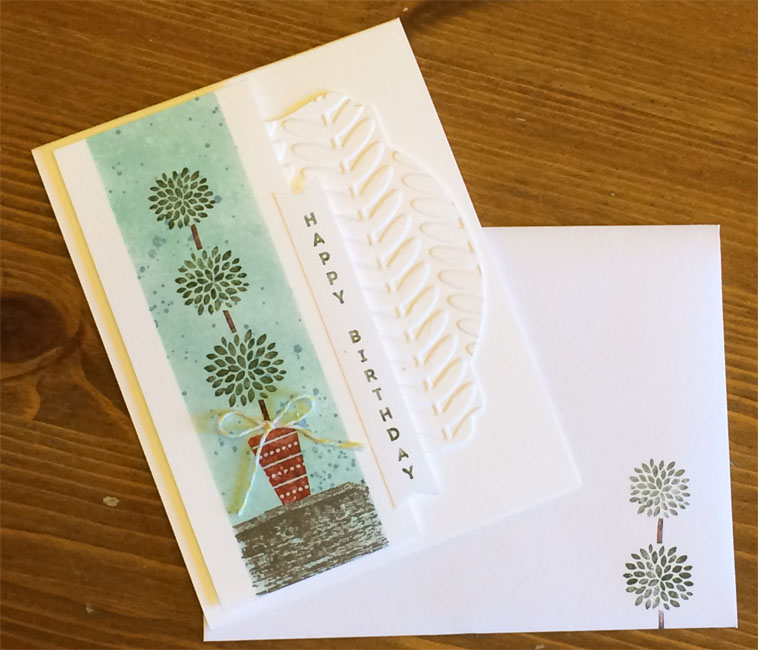
I started by cutting a piece of white cardstock in half length wise to create a 5.5" x 8.5" strip. I then masked off three sections evenly spaced approx. 1.5" wide. I sponged each strip in light blues (Pool Party & Soft Sky) and stamped them with the spotted background texture from Gorgeous Grunge using a darker blue (Marina Mist). Then the ground was stamped in brown (Tip Top Taupe) using a stamp from Timeless Textures.
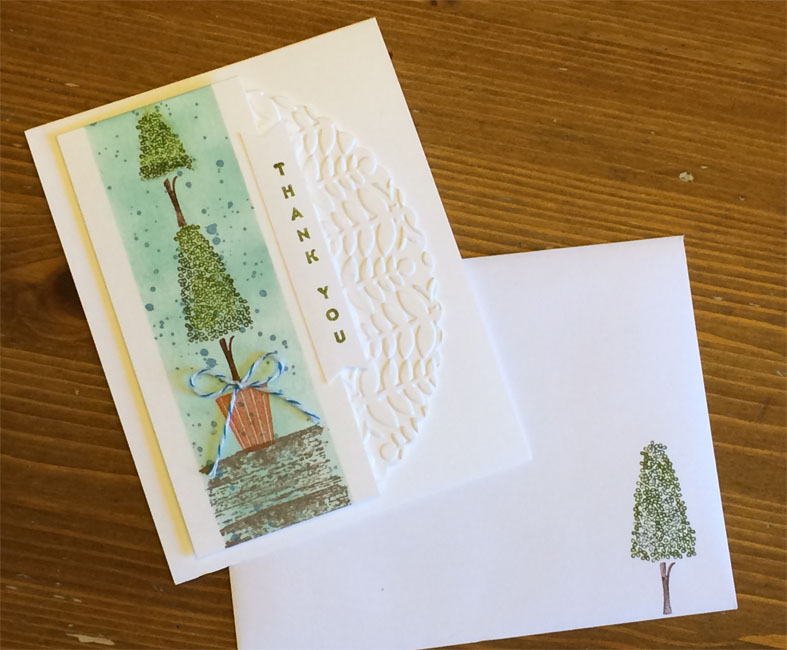
Using markers I coloured the Topiary stamps, above sample used Chocolate Chip, Mossy Meadow, Always Artichoke and Cajun Craze for the pot. I also stamped a shorter "cut" version of the topiary on the inside bottom right of the card and bottom right of the envelope to mach.
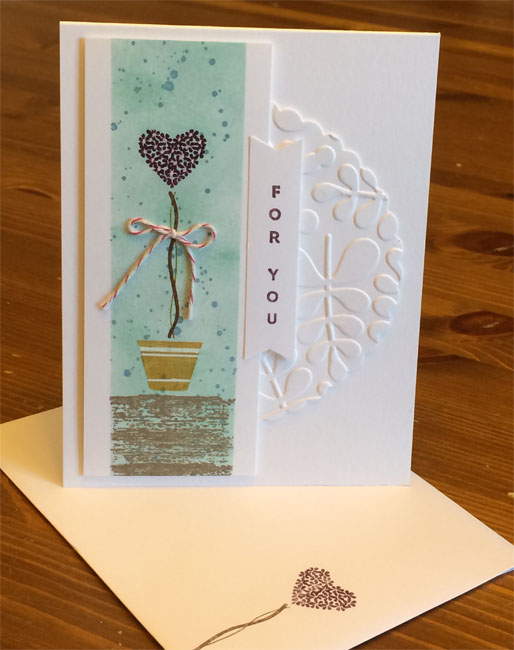
Above heart topiary uses the following markers: Chocolate Chip, Blackberry Bliss and for the pot Delightful Dijon.
Again I added a shortened image to the envelope and inside of the card
The last topiary uses Chocolate Chip, Mossy Meadow, Old Olive and Tangerine Tango. Note I wanted a slightly taller tree, so re-inked the top portion of the stamp and added a little tree at the top.
I then trimmed all the image strips to leave a approx. 1/4" white edge on both sides.
For the little greetings I matched ink colours used to the image, ie above the sentiment is Old Olive, the other two use Blackberry Bliss and Always Artichoke. Next I chose three different embossing folders with leafy images and embossed a 4" x 5" piece of white cardstock in each. I then cut each texture into a different shape (circle, oval...)
The cards were assembled as follows. texture embossed shape adhered direct to white card base. using foam tape/mounting squares the image strips were attached towards the left of the card. The sentiment strip was trimmed in fishtails on both ends using the banner punch and glues directly onto the image strip, overlapping the textured shape.
Lastly I added coordinating bows tied from butchers twine. On the heart shapes topiary I also highlighted the flower centers and pot using a white gel pen.
Supplies used:
Cardstock: Recollections 110 lbs white
Stamps: Vertical Greetings, Gorgeous Grunge, Timeless Textures - SU
Punch: Banner - SU
Embossing folders: Vine Street - Su, Christmas Elegance, Branches - both Sizzix
Dies: Circle Framelits, Oval Framelits, Deco label - all SU
Ink: Pool Party, Soft Sky, Marina Mist, Tip Top Taupe - SU
Markers: Old Olive, Mossy Meadow, Always Artichoke, Chocolate Chip, Delightful Dijon,
Blackberry Bliss, Cajun Craze, Tangerine tango - all SU
Misc.: white gel pen, bakers twine (pink, light blue, yellow), Foam tape/mounting squares
Thanks for stopping by! Hope to see you again soon.